
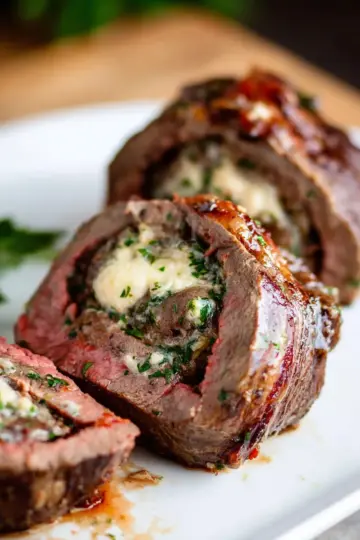
Introduction to Homemade Gravy from Scratch
Making homemade gravy from scratch is not just a culinary skill; it’s an art form that elevates your meals to a whole new level. But why should you consider making gravy at home? For starters, nothing beats the taste of fresh gravy crafted with your own ingredients. When you create your own version, you can fine-tune flavors to perfectly complement your dishes, whether it’s mashed potatoes, turkey, or chicken ham. Plus, you know exactly what’s in it—no additives or preservatives.
Another significant benefit is cost-effectiveness. Store-bought gravy often comes with a hefty price tag, especially for gourmet varieties. By making gravy from scratch, you can whip up a delicious batch at a fraction of the cost. Interested in learning how? Sources like Serious Eats can guide you through the nuances of this technique.
Moreover, drilling down on your kitchen skills doesn’t just impress your guests—it also enhances your overall cooking confidence. Imagine serving a perfectly rich and flavorful gravy, crafted by your own hands, at your next gathering. Your guests will surely appreciate the effort, making every bite just a bit more special. Let's dive into the easy gravy recipe that will change your dining experience!
Ingredients for Homemade Gravy from Scratch
Creating a delicious homemade gravy from scratch can elevate any meal, whether you're whipping it up for a holiday feast or a cozy weeknight dinner. The ingredients you choose are essential for crafting that rich, savory flavor we all crave. Here’s what you’ll need:
Gravy with Drippings
For those moments when you have flavorful turkey drippings, here’s what to gather:
- ¼ cup reserved turkey drippings: These add an incredible depth of flavor.
- ¼ cup all-purpose flour: This helps to thicken the gravy.
- 3 cups chicken or turkey stock: Choose a good-quality stock for the best results.
Gravy Without Drippings
If you don’t have drippings, no worries! You can make a tasty gravy using:
- ¼ cup unsalted butter: For that rich, buttery base.
- 1 teaspoon minced fresh garlic: Adds aromatic depth.
- 3 tablespoons minced shallots: For subtle sweetness and flavor.
- ¼ cup all-purpose flour: To thicken things up nicely.
- 3 cups chicken or turkey stock: Essential for achieving a well-rounded taste.
By following these simple ingredient guides, you'll be on your way to a flavorful homemade gravy from scratch in no time!
Step-by-Step Preparation of Homemade Gravy
Making homemade gravy from scratch is a fantastic skill to add to your culinary repertoire. Whether you’re drizzling it over mashed potatoes, turkey, or even a hearty veggie bowl, a good gravy can elevate any dish. Let’s break down the preparation process step-by-step!
Prepare Your Ingredients
Before you start cooking, it’s essential to gather all your ingredients for a seamless experience. Here’s what you’ll need based on whether you’re using drippings or making it from scratch:
For Gravy with Drippings:
- ¼ cup reserved turkey drippings
- ¼ cup all-purpose flour
- 3 cups chicken or turkey stock
For Gravy Without Drippings:
- ¼ cup unsalted butter
- 1 teaspoon minced fresh garlic
- 3 tablespoons minced shallots
- ¼ cup all-purpose flour
- 3 cups chicken or turkey stock
Having everything prepped and ready will make your gravy-making process much smoother!
Making Gravy with Drippings
If you’re lucky enough to have some tasty pan drippings from your turkey or any roasted meat, this method is for you.
- Heat a skillet over medium-high heat and add the turkey drippings.
- Once warm, whisk in the flour, cooking until it turns a pale golden color (about 3 minutes).
- Gradually whisk in the stock, starting with 1 cup. Keep whisking until smooth, then add the remaining stock.
- Simmer occasionally until the gravy thickens and coats the back of a spoon.
This method brings the rich flavors of your roast into your gravy, making it downright irresistible!
Whipping Up Gravy Without Drippings
No drippings? No problem! You can still create delicious homemade gravy from scratch.
- In a skillet, melt the butter over medium heat, then add garlic and shallots. Sauté until softened, about 3 minutes.
- Sprinkle in the flour, keeping everything combined while toasting it (another 3 minutes).
- Substituting wine, you can add a splash of water instead, scraping those flavorful bits from the pan.
- Slowly whisk in your stock, letting the mixture simmer to thicken.
Creating a flavorful gravy without drippings allows you to control the taste and texture – perfect for those times when you’re low on ingredients!
Whisking Techniques for Your Gravy
Whisking is crucial in achieving a smooth consistency.
- Use a sturdy whisk: This prevents clumps from forming as you combine the flour and liquid.
- Whisk vigorously: The more vigorous your whisking, the smoother your gravy will be!
This technique can make the difference between a lumpy and velvety gravy.
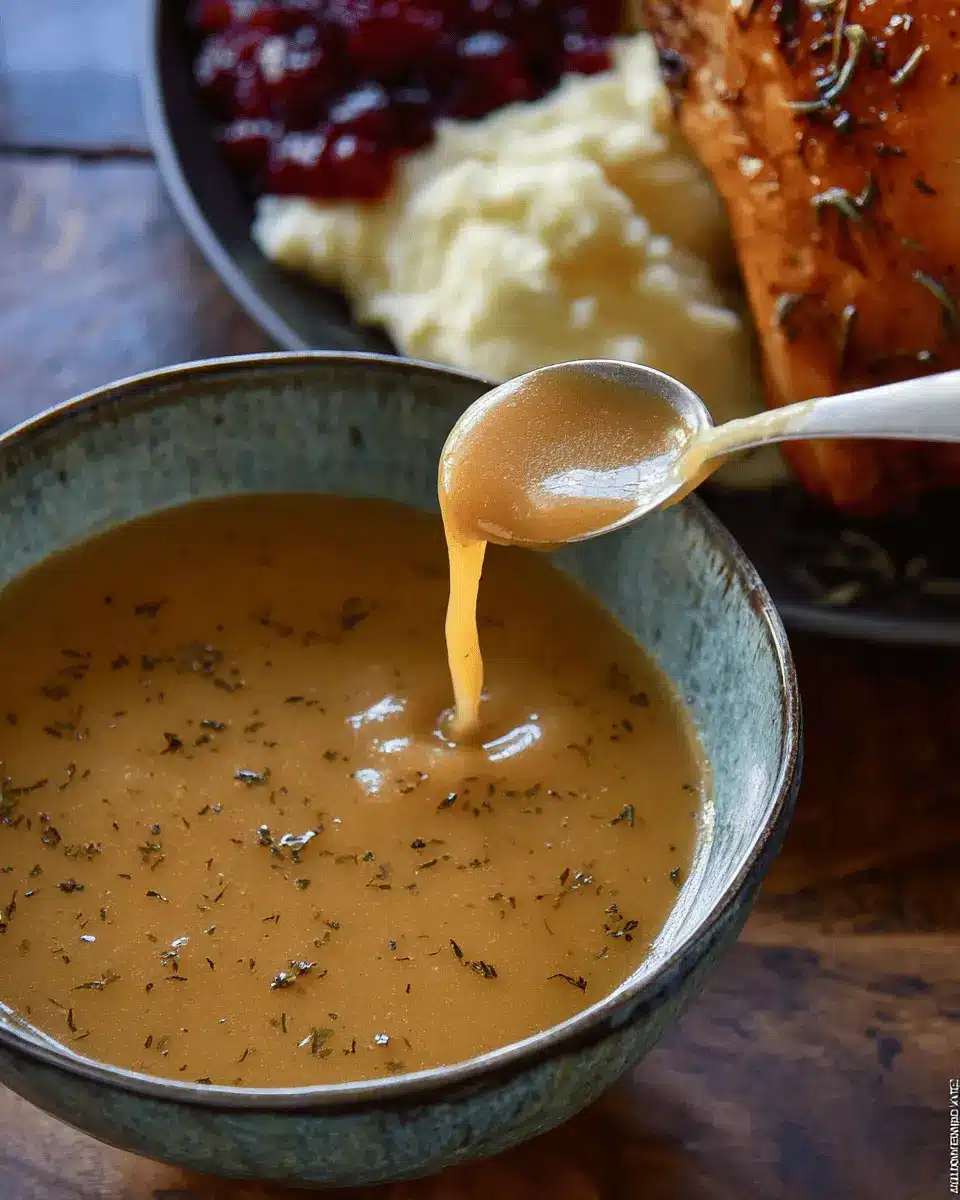
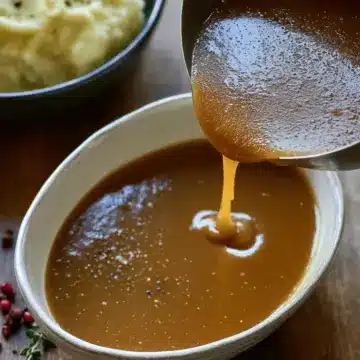
Final Touches and Seasoning
Once your gravy is thickened to perfection, it’s time for the final touches.
- Taste your gravy: Adjust seasoning with salt and pepper until it feels just right.
- Consider extra flavor: If you want, add a sprinkle of fresh herbs or a dash of poultry seasoning for that extra oomph.
Remember, great gravy is all about balance, so don’t hesitate to tweak it until it meets your tastes!
With these simple steps, you’re now ready to make easy gravy from scratch that will impress family and friends alike. Happy cooking!
Variations on Homemade Gravy
Elevate your homemade gravy from scratch with exciting variations that cater to your taste and dietary preferences.
Herb-infused gravy
For a fragrant twist, consider adding fresh herbs like thyme, rosemary, or sage to your gravy. Simply toss in a handful while simmering for a delightful aroma and flavor that complements roasted meats beautifully. This herb-infused version is perfect for cozy gatherings and will impress your guests.
Mushroom gravy alternative
If you're looking for a hearty, vegetarian-friendly option, try making a mushroom gravy. Sauté finely chopped mushrooms alongside the garlic and shallots before adding the flour. This not only increases the depth of flavor but also creates a rich and satisfying sauce that pairs wonderfully with mashed potatoes, rice, or even a savory biscuit. For creamy goodness, finish with a splash of heavy cream or a dollop of sour cream.
Experiment with these variations to discover your favorite take on homemade gravy!
Cooking Tips and Notes for Homemade Gravy
Adjusting Consistency
Creating the perfect homemade gravy from scratch often involves tweaking the consistency. If your gravy is too thin, simply let it simmer longer to reduce; this intensifies the flavor while thickening it. For a gravy that's too thick, add a tablespoon of stock or broth at a time until it reaches your desired texture. Don’t hesitate to whisk vigorously—this adds air and helps achieve that silky smooth finish.
Storing and Reheating Tips
Making gravy ahead of time? Cool it completely and store it in an airtight container in the fridge for up to two days. When ready to serve, reheat gently on medium-low, whisking to restore its creaminess. Got leftovers? They’ll last for up to four days. For frost-free storage, freeze your gravy for up to three months. Just remember to thaw it in the fridge overnight before reheating—you might need to add a splash of broth for that perfect consistency!
Potential reading on gravy storage can be found here.
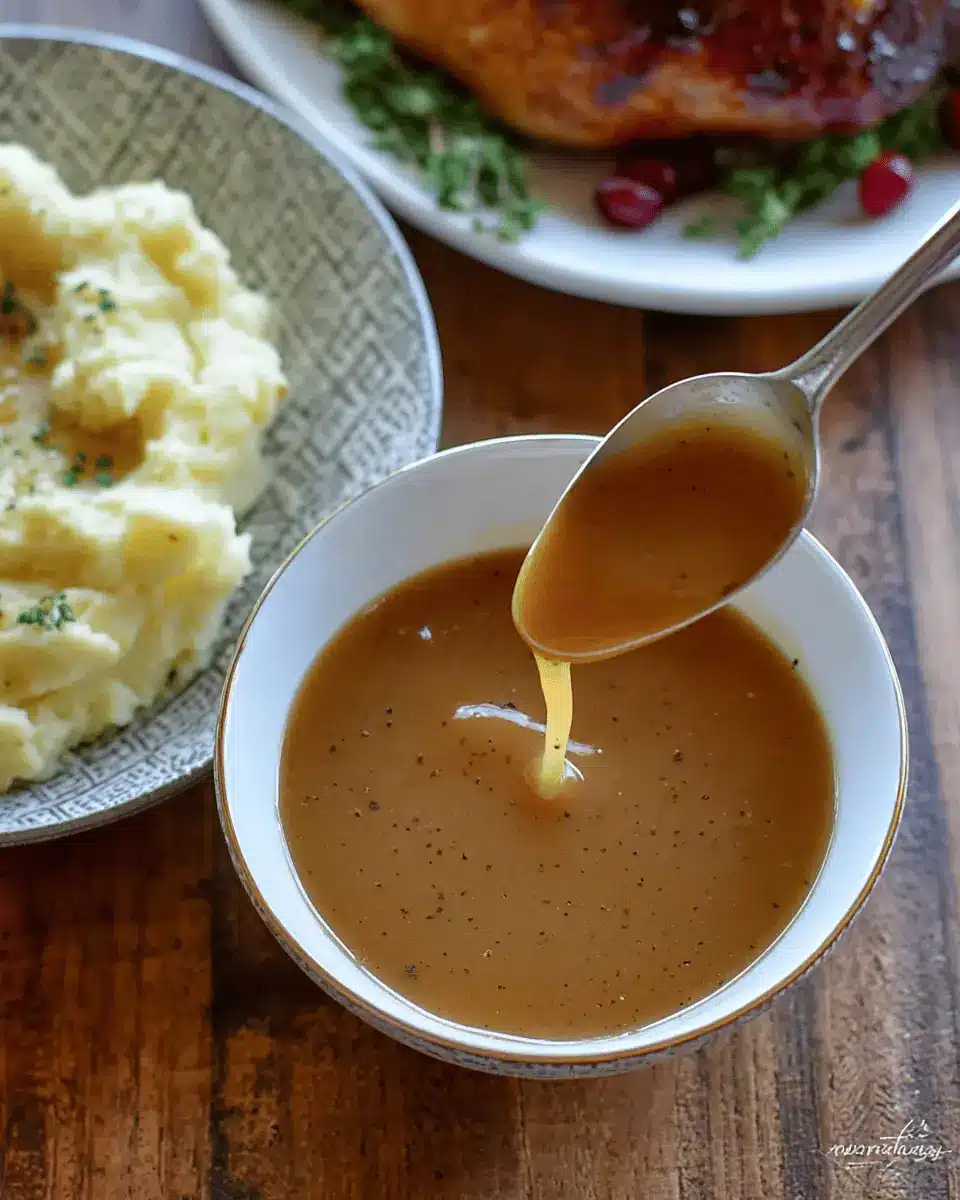
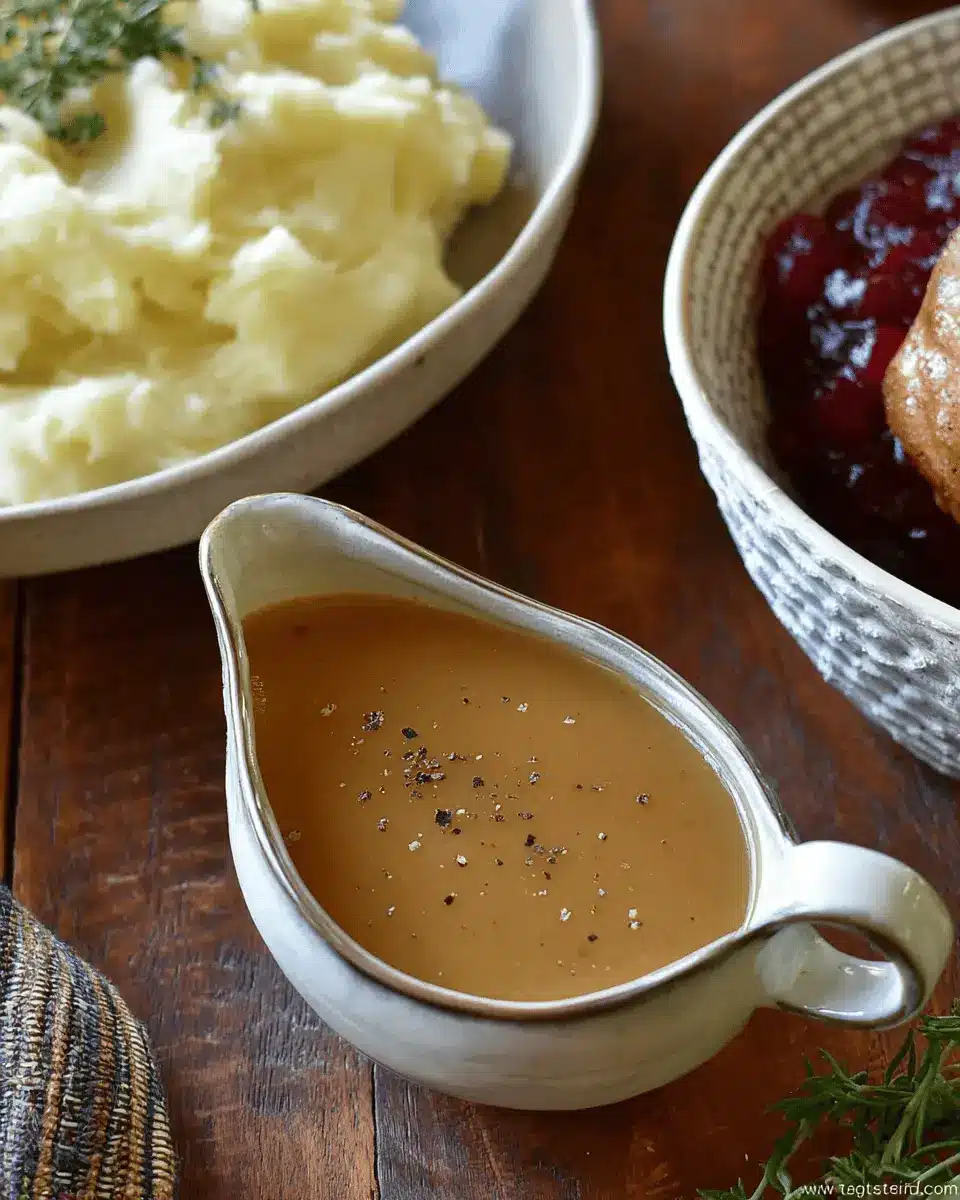
Serving Suggestions for Homemade Gravy
Perfect Pairings for Your Gravy
After mastering homemade gravy from scratch, the next step is to discover how to elevate your meals. Whether you're drenching fluffy mashed potatoes or slathering it over a perfectly roasted chicken, there are numerous delicious options:
- Mashed Potatoes: A classic combination that no meal should be without.
- Turkey Bacon: Crumble some crispy turkey bacon over your gravy-covered dish for a crunchy twist.
- Chicken Ham: Perfect with gravy at breakfast or dinner, the flavors meld beautifully.
- Biscuits and Gravy: Treat yourself to this Southern staple for a cozy weekend brunch.
Creative Ways to Use Leftovers
Don’t let any of that scrumptious gravy go to waste! Here are a few inventive ideas for using up leftovers:
- Soup Base: Incorporate gravy into your favorite soup for added richness and flavor.
- Casseroles: Stir it into your casseroles for a creamy texture and depth.
- Sandwiches: Use it as a spread on turkey or chicken sandwiches for a savory kick.
If you’re in search of more inspiration, you might find this recipe article valuable! Embrace the versatility of gravy and enjoy every last bit!
Time Breakdown for Homemade Gravy
Preparation time
Getting your ingredients ready for homemade gravy from scratch takes just about 5 minutes. It’s a simple process—gather your flour, stock, and any drippings or butter you’ll need.
Cooking time
Once you're prepped, the cooking itself will take around 15 minutes. This is where the magic happens as the flavors meld into a delicious sauce.
Total time
All in all, you’re looking at a total time of 20 minutes from start to finish. Perfect for a weeknight dinner or holiday feast!
Nutritional Facts for Homemade Gravy
When you whip up some homemade gravy from scratch, it's essential to be aware of its nutritional content. Here's a quick breakdown of its key nutritional facts:
Calories
Each serving of homemade gravy contains approximately 452 calories, making it a hearty addition to your meals.
Protein
You can expect about 11 grams of protein per serving, which helps make your meals more satisfying and helps support muscle recovery.
Sodium
With 559 mg of sodium, it's wise to balance gravy with lower-sodium dishes. You can always adjust the salt levels to suit your taste preferences!
For a deep dive into the nutritional aspects of your favorite dishes, check out this guide on healthy eating from the Academy of Nutrition and Dietetics.
FAQs about Homemade Gravy from Scratch
Can I make gravy without drippings?
Absolutely! If you're in a pinch or just prefer not to use drippings, you can create delicious homemade gravy from scratch using butter, flour, and stock. Just sauté some aromatics like garlic and shallots for flavor, then follow the same roux method as with drippings. It's a great option for vegetarians or when drippings are sparse!
How do I fix lumpy gravy?
Lumpy gravy happens, but it’s easy to fix! If you encounter lumps, don't panic. You can strain your gravy through a fine-mesh sieve for a silky finish, or blend it briefly with an immersion blender until smooth. It happens to the best of us, so don’t let it stress you out!
How long can I store homemade gravy?
You can store homemade gravy from scratch in an airtight container in the refrigerator for up to four days. For longer storage, consider freezing it! Just place it in a zippered bag or airtight container, where it can last up to three months. When you're ready to use it, thaw it overnight in the fridge and reheat gently on the stovetop, whisking as needed to restore its delicious consistency.
Conclusion on Homemade Gravy from Scratch
Making homemade gravy from scratch is not only simple but also rewarding. With versatile options featuring drippings or without, you can elevate any meal. Experimenting with flavors offers endless possibilities; don't hesitate to adjust seasonings. Enjoy the comforting richness of your freshly made gravy! For more tips, explore this resource.
Homemade Gravy from Scratch
Equipment
- large skillet
Ingredients
Gravy with Drippings
- 0.25 cup reserved turkey drippings
- 0.25 cup all-purpose flour
- 3 cups chicken or turkey stock
Gravy Without Drippings
- 0.25 cup unsalted butter
- 1 teaspoon minced fresh garlic
- 3 tablespoons minced shallots
- 0.25 cup all-purpose flour
- 0.25 cup dry white wine
- 1 teaspoon poultry seasoning
- 3 cups chicken or turkey stock
Instructions
How to Make Gravy with Drippings
- Add the drippings to a large skillet set over medium-high heat.
- Once the drippings are warm, whisk in the flour. Cook the roux, undisturbed, until toasted and pale golden in color, about 3 minutes.
- While whisking constantly, slowly stream in 1 cup of the stock until it is well-incorporated. Once the mixture is smooth, continue slowly whisking in the remaining 2 cups of stock.
- Simmer the gravy, stirring occasionally, until it thickens enough to coat the back of a spoon and reduces to roughly 2 cups in volume.
- Taste and season the gravy with salt and pepper then serve.
How to Make Gravy without Drippings
- Add the butter to a large skillet set over medium heat. Once the butter has melted, add the garlic and shallots and cook, stirring, until the garlic is golden brown and the shallots are softened, about 3 minutes.
- Sprinkle in the flour and whisk to combine. Continue cooking, whisking occasionally, until the roux is toasted and pale golden, about 3 minutes.
- Whisk in the wine (or water) and cook, scraping up any brown bits from the bottom of the pan, for 2 minutes, then whisk in the poultry seasoning.
- Slowly whisk in the stock. Bring the gravy to a simmer and cook, whisking occasionally, until it has thickened enough to coat the back of a spoon, about 5 minutes. (The gravy should reduce to about 2 cups total.)
- Remove the gravy from the heat then taste and season it with salt and pepper before serving.


Leave a Reply