
Introduction to Homemade Banana Pudding
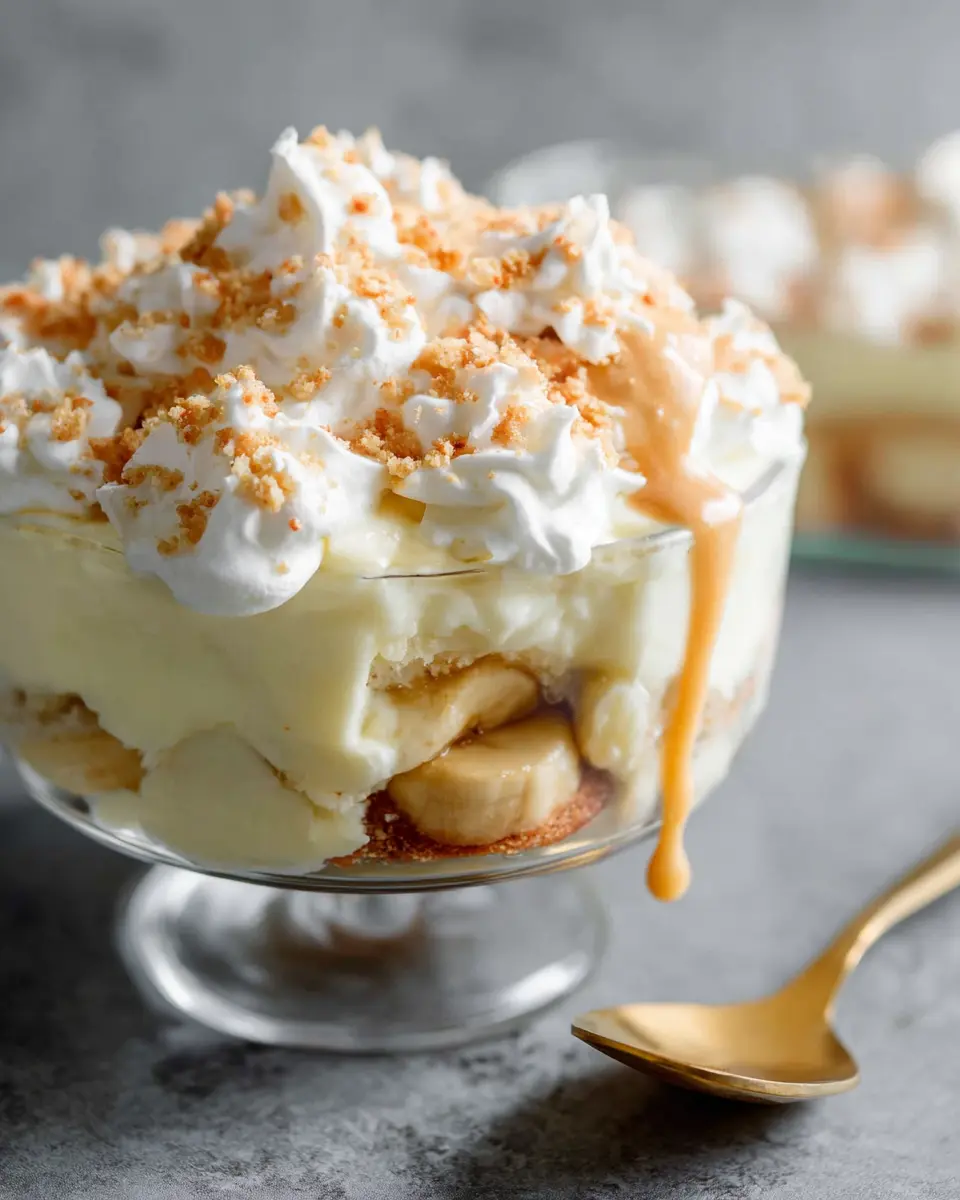
Banana pudding is a cherished dessert that has earned its status as a classic. This incredible treat combines layers of creamy vanilla pudding, ripe bananas, and crunchy Nilla wafers, resulting in a delightful symphony of textures and flavors. But what makes banana pudding so beloved? Simply put, it invokes feelings of nostalgia and comfort, reminiscent of family gatherings and childhood dinners. Think of enjoying a cool, creamy bowl on a hot summer day or served at holiday celebrations—each spoonful brings back cherished memories.
Another reason for its popularity lies in its versatility. You can dress it up with homemade whipped cream or keep it simple if time is short. Want to add a twist? Some people love to incorporate meringue on top or even banana extract for an extra kick. Plus, it's a dessert that's well-loved by family members of all ages, making it a surefire hit at any gathering.
Ready to create your own delicious version? Dive into the recipe below and discover how easy it is to whip up this comforting classic from scratch! If you'd like to explore more about the origins and variations of this scrumptious dish, check out this article on the history of banana pudding.
Ingredients for Homemade Banana Pudding
Essential ingredients for the pudding
To create a delightful homemade banana pudding, you'll need a handful of essential ingredients that come together to deliver that creamy, dreamy texture. Here’s what you’ll grab from your kitchen:
- 2 ½ cups whole milk
- ½ cup heavy cream
- 1 egg and 2 egg yolks
- ¾ cup granulated sugar
- 4 ½ tablespoons cornstarch
- 4 tablespoons butter
- 3 teaspoons vanilla extract
- ½ teaspoon salt
- 1 box Nilla wafers
- 4 large ripe bananas, sliced
- Fresh whipped cream for topping (optional)
This tasty combination ensures you'll achieve that classic texture and flavor profile that makes banana pudding a beloved dessert.
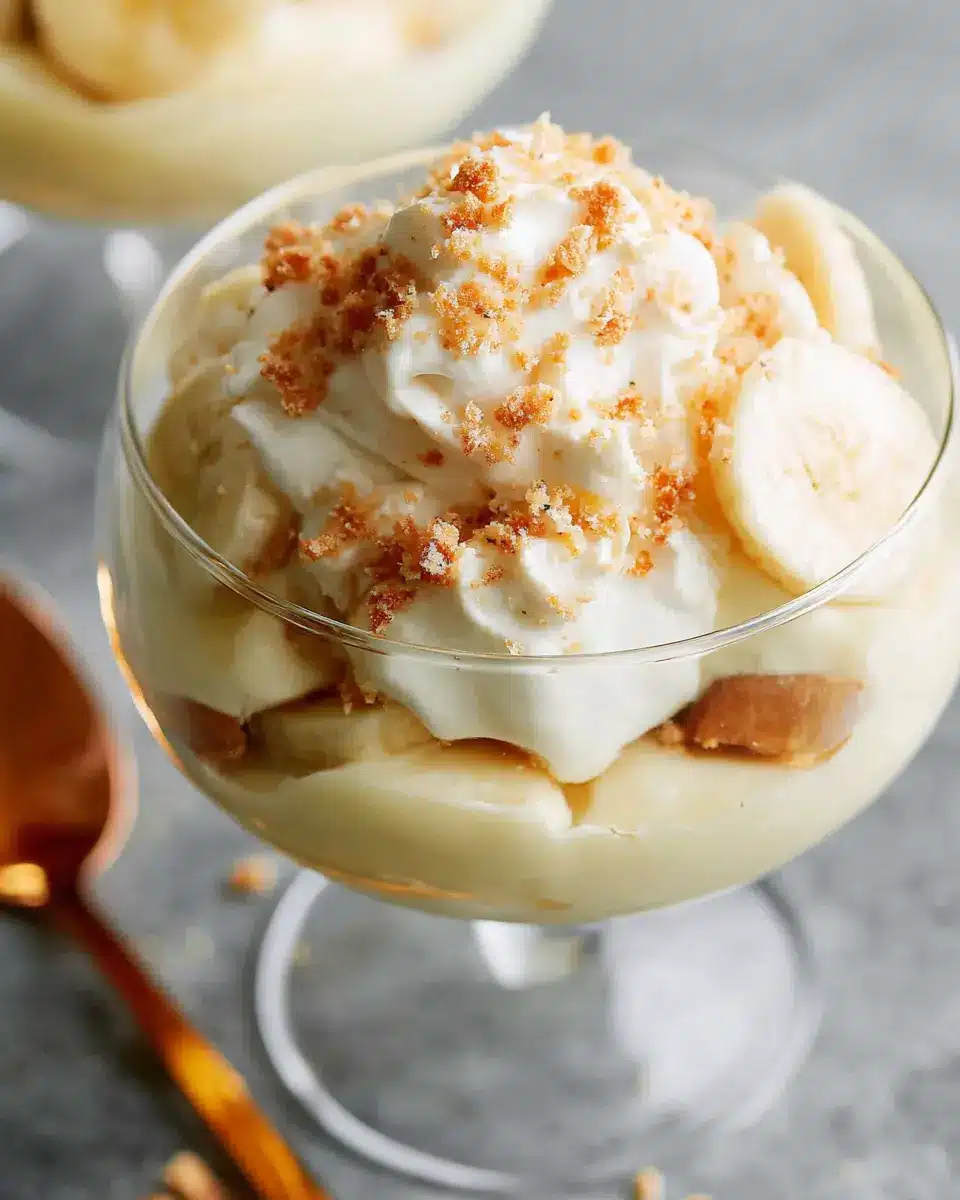
The star of the show: ripe bananas
When it comes to banana pudding, the bananas truly are the stars of the dish! Opt for ripe bananas that have a few brown spots; this means they're sweet and flavorful, yet firm enough to slice without getting mushy. You want to strike the perfect balance — overly ripe bananas can turn to mush too quickly in your pudding, while those that are too green won’t bring forth the luscious sweetness you desire. So, next time you’re at the grocery store or farmers' market, be on the lookout for just-right bananas to elevate your banana pudding creation!
For even more tips on selecting the best bananas, check out sources like the Produce Marketing Association for expert advice!
Step-by-Step Preparation of Homemade Banana Pudding
Making your own banana pudding from scratch is not only rewarding but also incredibly delicious! Follow these simple steps to create a creamy, comforting dessert that will surely impress your friends and family.
Gather Your Equipment
Before diving into the recipe, let’s ensure we have the essential tools ready. Here’s what you’ll need:
- Fine Mesh Strainer: This is crucial for achieving a silky-smooth pudding.
- Saucepan: A good quality saucepan is key to evenly heating your milk mixture.
- Mixing Bowl: Use it to whisk together your ingredients for the pudding.
Having these ready will set you up for success!
Prepare the Milk Mixture
Start by pouring 2 ½ cups of whole milk and ½ cup of heavy cream into your saucepan. Heat this mixture over medium heat, stirring frequently until it simmers. This will create a rich base for your pudding. Remember, keep an eye on it so it doesn’t boil over!
Whisk Together Eggs, Sugar, and Cornstarch
In your mixing bowl, combine 1 whole egg, 2 egg yolks, ¾ cup of granulated sugar, and 4 ½ tablespoons of cornstarch. Whisk everything together until it’s well blended and smooth. This mixture will help thicken your pudding and give it that perfect creamy texture.
Temper the Eggs and Cook the Pudding
Now comes a crucial step—tempering the eggs. Gradually spoon some of the hot milk mixture into the egg mixture while whisking vigorously to avoid cooking the eggs too quickly. After a few spoonfuls, pour the egg mixture back into the saucepan with the remaining milk. Cook this on medium-low for about 5 to 8 minutes, stirring constantly until it thickens and coats the back of a spoon. This is where the magic happens!
Strain and Chill the Pudding
To ensure your banana pudding is smooth, pour the mixture through a fine mesh strainer into a container. This removes any lumps. Next, stir in 4 tablespoons of chopped butter, 3 teaspoons of vanilla extract, and a pinch of salt. Cover the pudding with plastic wrap directly on the surface to prevent a skin from forming, and chill it in the refrigerator for at least an hour.
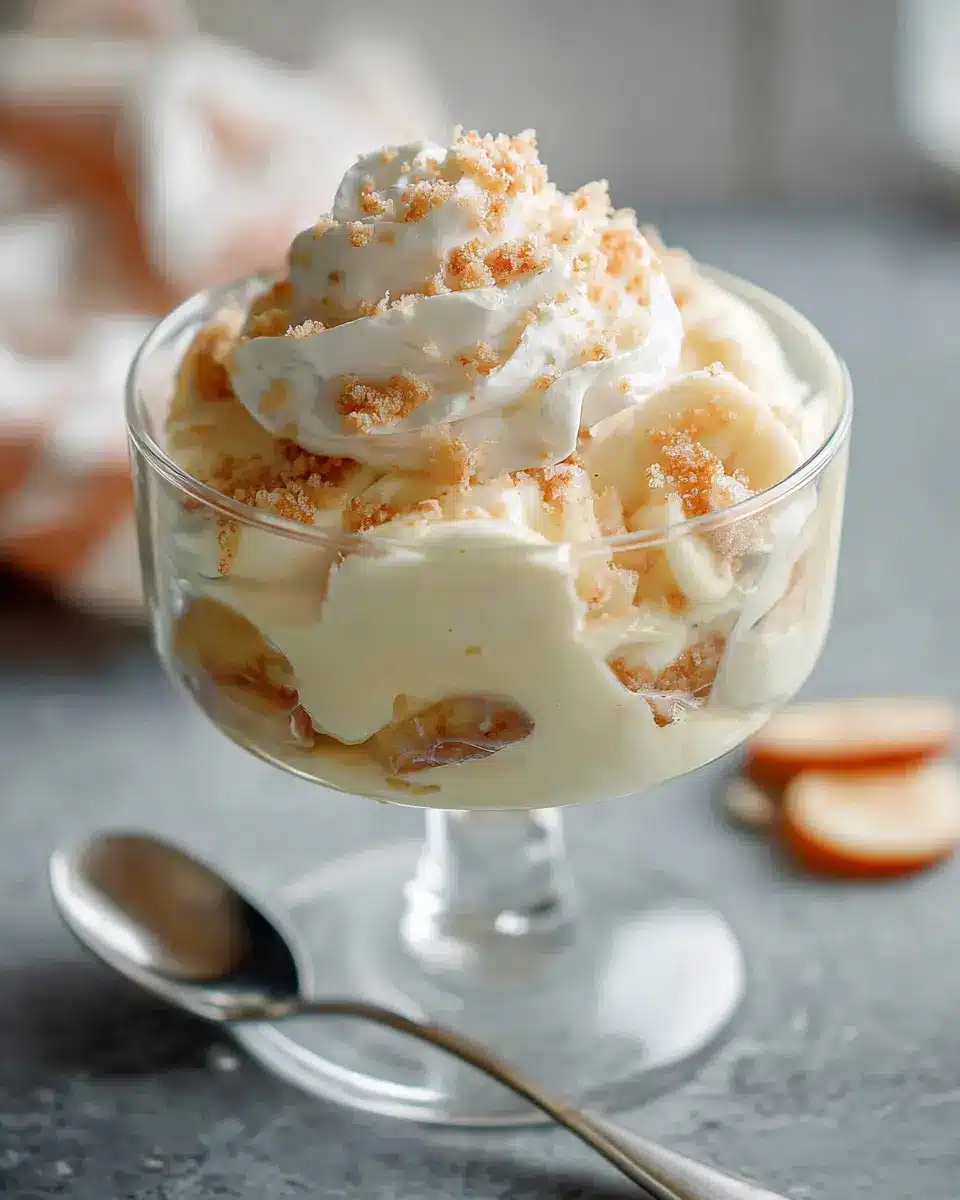
Layer the Banana Pudding in Your Dish
Once your pudding is chilled, it’s time for assembly! In a 9-inch square pan or your favorite trifle dish, start by layering with Nilla wafers. Next, add sliced ripe bananas, and then half of your chilled pudding. Repeat the layers, finishing with Nilla wafers on top. This creates a beautiful presentation and delicious harmony of flavors.
Chill Before Serving
Cover your assembled dessert tightly with plastic wrap and refrigerate it for at least 4 to 8 hours. This chilling time allows the flavors to meld beautifully. Just before serving, feel free to top it with fresh whipped cream for that extra indulgence.
Enjoy your homemade banana pudding — it's a dessert that brings everyone together with its classic, comforting flavors! Happy baking!
Variations on Homemade Banana Pudding
Southern-style banana pudding with meringue
For a delightful twist on the classic banana pudding, consider topping it with a fluffy meringue. Simply whip egg whites until they form stiff peaks, fold in some sugar, and spread it over the layers of pudding before baking until golden. This adds a wonderfully sweet, airy contrast to the creamy pudding and is a staple in Southern kitchens. Your guests will adore this traditional yet elevated take!
Banana pudding pie for a twist
Mix things up with a delicious banana pudding pie. Start with a homemade or store-bought pie crust, layer in sliced bananas, creamy vanilla pudding, and Nilla wafers, then top with whipped cream or a sprinkle of crushed wafers for texture. This variation is not only easy to assemble but also perfect for potlucks or casual get-togethers. For a fun touch, try adding a bit of chocolate or caramel sauce between the layers!
Cooking Tips and Notes for Homemade Banana Pudding
How to achieve a silky pudding
To make your banana pudding luxuriously smooth, be sure to strain the pudding mixture through a fine mesh strainer after cooking. This removes any lumps that might develop and ensures a velvety texture. While cooking, keep the heat low to prevent the pudding from boiling, as boiling can lead to curdling.
Tips for perfect banana ripeness
Choose bananas that are ripe, with a few brown spots, for optimal sweetness and flavor. Avoid overly ripe bananas, as they can become too mushy when layered. For the best layering experience, slice the bananas shortly before assembling the banana pudding to prevent browning. If you're feeling adventurous, consider trying this article for creative banana tips!
Serving Suggestions for Homemade Banana Pudding
Ideal occasions for serving
Homemade banana pudding shines at a variety of gatherings. It's perfect for Sunday dinners, potlucks, or birthday parties. Imagine bringing a dish that not only tastes delightful but also evokes fond memories of childhood. This dessert is a crowd-pleaser and pairs beautifully with summer picnics or outdoor barbecues. You can also serve it during intimate gatherings to add a comforting touch to casual evenings at home.
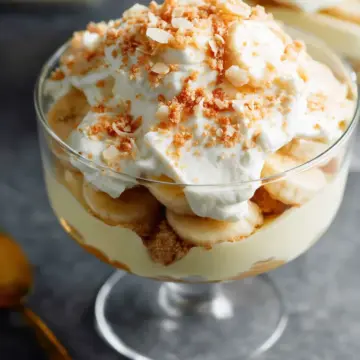
Adding creative toppings
While banana pudding is delectable on its own, playful toppings elevate it even further. Consider adding crushed Nilla wafers for extra crunch, or opt for a sprinkle of cinnamon for a hint of warmth. Fresh berries, like strawberries or blueberries, add vibrant color and a fresh twist. For a luxurious touch, drizzle melted chocolate or caramel sauce over the top. A dollop of whipped cream — homemade or store-bought — is always a welcome addition, enhancing its creaminess. Experimenting with toppings not only enhances flavor but also provides a fun way to personalize your dessert creation!
Time Breakdown for Homemade Banana Pudding
Preparation time
Getting your ingredients ready takes about 15 minutes. This includes slicing bananas and measuring out your whole milk, heavy cream, and other ingredients. A little organization goes a long way, so make sure to have everything at hand!
Cooking time
Once you start cooking, it’s approximately 15 minutes until your homemade vanilla pudding thickens perfectly. Stirring is key during this time to prevent any lumps – just think of it as a mini workout!
Refrigeration time
The most important part? Patience! You’ll need to refrigerate your banana pudding for at least 4 hours, or overnight for optimal flavor. This chilling time helps meld those delicious flavors together beautifully. Don’t rush it; great dessert takes time!
Nutritional Facts for Homemade Banana Pudding
Calories and key nutrients
Homemade banana pudding offers approximately 288 calories per serving, packed with essential nutrients. Notably, it contains 5g of protein, 14g of fat (including 8g of saturated fat), and 38g of carbohydrates, making it a delightful treat. It's also a source of calcium and potassium.
Considerations for dietary restrictions
If you're catering to dietary restrictions, note that this classic recipe contains eggs and dairy, making it unsuitable for those following a vegan lifestyle. However, you can easily substitute with plant-based alternatives like almond milk or vegan cream. For gluten-free options, use gluten-free cookies instead of Nilla wafers, ensuring everyone can enjoy this delicious dessert!
For more insights on healthy substitutions, check out this article on dairy-free dessert alternatives. Enjoy your banana pudding while staying mindful of dietary preferences!
FAQs about Homemade Banana Pudding
Can I make banana pudding in advance?
Absolutely! Homemade banana pudding can be prepared 1-2 days ahead of time. Just store it covered in the refrigerator until you're ready to serve. This not only saves time but allows the flavors to meld together beautifully, creating an even more delicious dessert.
What should I do if my pudding is lumpy?
If you find yourself with a lumpy pudding, don’t fret! Simply pour the mixture through a fine mesh strainer or sieve into a clean bowl. This step will eliminate any lumps, leaving you with a silky-smooth pudding that’s perfect for layering with your bananas and Nilla wafers.
How long can I store banana pudding?
You can store your banana pudding in the fridge for up to 3 days. Just be sure to cover it tightly to keep it fresh. If you decide to freeze the pudding for longer storage, it’s best to wait until you’re ready to assemble and serve before adding the bananas and wafers.
Feel free to explore expert tips and tricks here for more insights as you make this decadent dessert!
Conclusion on Homemade Banana Pudding
Why you should try this recipe today!
If you're craving a delightful, nostalgic dessert that combines creamy vanilla pudding with ripe bananas and crunchy Nilla wafers, then this homemade banana pudding is a must-try! Not only is it simple to make, but it also brings joy to any gathering. Dig in!
Banana Pudding
Equipment
- Fine Mesh Strainer
- sauce pan
- Mixing bowl
Ingredients
- 2 ½ cups whole milk
- ½ cup heavy cream
- 1 large egg at room temperature
- 2 large egg yolks at room temperature
- ¾ cup granulated sugar
- 4 ½ Tablespoons cornstarch
- 4 Tablespoons butter chopped
- 3 teaspoons vanilla extract optional
- ½ teaspoon salt
- 1 box Nilla wafers
- 4 large bananas sliced, use ripe but not overly ripe bananas
- Fresh whipped cream for topping (optional)
Instructions
- Add milk and cream to a medium saucepan over medium heat. Bring to a simmer, stirring often.
- In a medium bowl, whisk together the eggs, sugar, and cornstarch until well blended.
- Spoon a little of the hot milk over the egg mixtures and whisk well. Repeat with another few spoonfuls of the hot milk, to temper the eggs.
- Pour the egg mixture into the saucepan and continue to cook over medium low heat for 5-8 minutes until thickened and coats the back of a spoon.
- Once thickened, remove from heat and stir in the butter, vanilla extract, and salt.
- Pour the pudding through a sieve or fine mesh strainer into a container, to remove lumps and make it silky smooth.
- Place a piece of plastic wrap directly on top to prevent a skin from forming. Refrigerate for an hour or more until chilled. Stir well once chilled.
- To assemble the banana pudding, line a pan with vanilla wafers, top with sliced bananas, then ½ of the pudding mixture. Repeat and end with a final layer of wafers.
- Cover tightly with plastic wrap and place in the fridge for 4-8 hours.
- Top with fresh whipped cream before serving, if desired.

Leave a Reply