
Introduction to Homemade Twinkies
Why Homemade Twinkies?
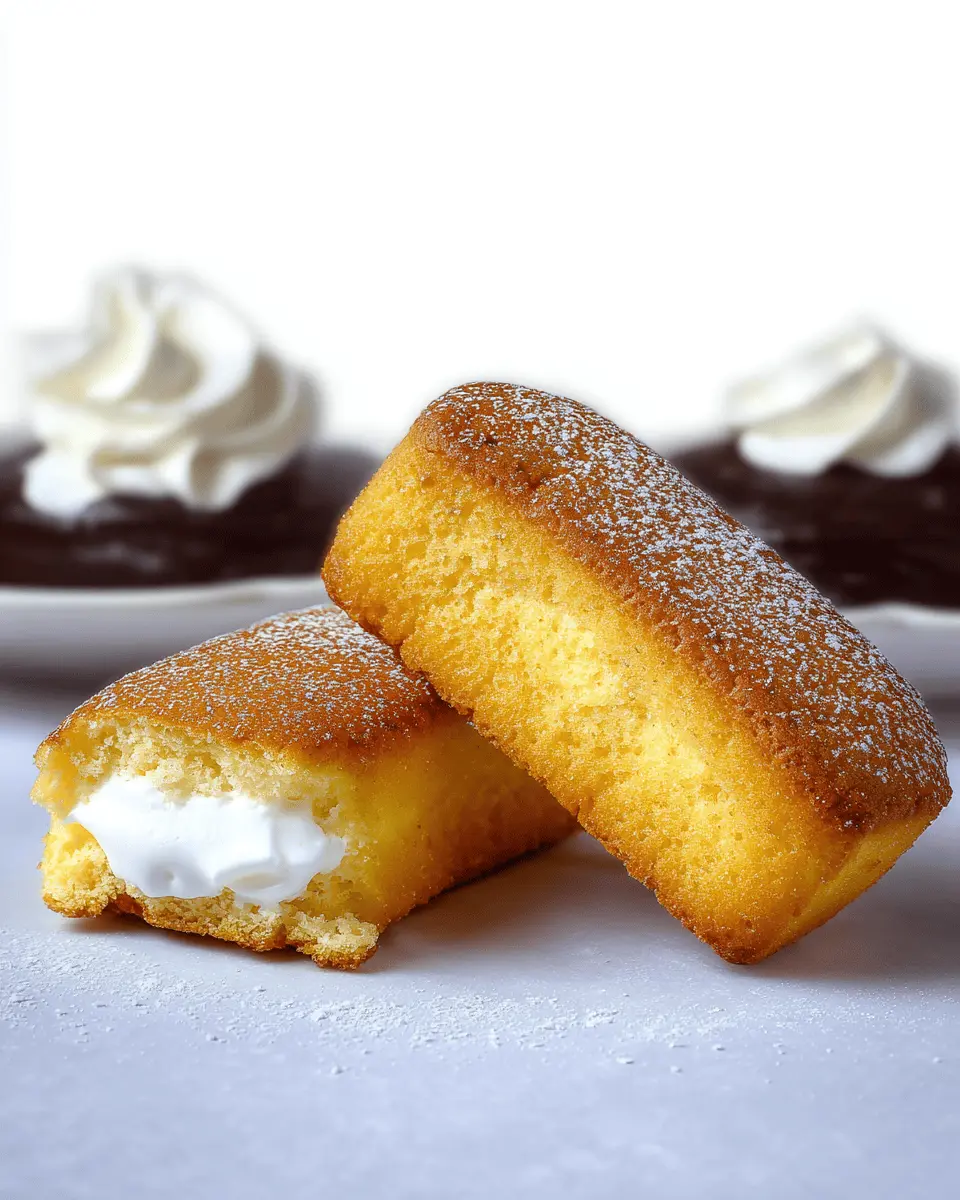
If you ever savored a classic Twinkie, you know that they hold a special nostalgia in many of our hearts. But have you ever thought about crafting your own homemade Twinkies? The beauty of making these sweet treats at home lies in the ability to customize flavors, textures, and even the filling to suit your taste. Plus, you can omit preservatives and artificial ingredients often found in store-bought options.
Creating homemade Twinkies allows for a healthier spin on an old favorite without sacrificing that iconic sponge cake texture and dreamy cream filling. Think about it: whipping up a batch while filling your kitchen with that sweet aroma can bring back fond memories and create new ones. The personal touch you add makes all the difference.
Additionally, you can experiment with various fillings, from classic vanilla to bold flavors like chocolate or even raspberry. This versatility means that each time you bake, you can craft a unique experience! Whether you’re sharing them at a gathering or indulging with friends during a cozy movie night, these homemade delights are sure to impress. Ready to dive into this delicious adventure?
Ingredients for Homemade Twinkies
Creating homemade Twinkies means gathering a few essential ingredients to achieve the iconic fluffy texture and creamy filling. Let's dive into what you’ll need!
Essential ingredients for the sponge cake
To whip up the delicious sponge cake layer, you'll want:
- ½ cup cake flour: This light flour gives the cake its tenderness.
- ¼ cup all-purpose flour: Balances the cake structure and texture.
- 1 teaspoon baking powder: Essential for the fluffiness.
- ¼ teaspoon salt: Enhances flavor.
- 2 tablespoons milk: Whole milk adds richness.
- 4 tablespoons unsalted butter: Brings moisture and flavor.
- ½ teaspoon vanilla extract: For that classic aroma.
- 5 large eggs, at room temperature: The key to a light and airy batter.
- ¾ cup granulated sugar: Sweetens the cake and helps with texture.
- ¼ teaspoon cream of tartar: Stabilizes the egg whites.
Ingredients for the Seven-Minute Frosting
Now, for the fluffy filling inside those delectable cakes, you’ll need to prepare the Seven-Minute Frosting, made from:
- Egg whites: About two large egg whites.
- Granulated sugar: Around 1 cup to sweeten the frosting.
- Light corn syrup: Half a cup helps create that smooth texture.
These simple ingredients come together to recreate the nostalgic flavors of your childhood. Once you’ve gathered everything, get ready to dive into baking! For detailed instructions on preparing these components, check out resources from Taste of Home or King Arthur Baking for tips on perfecting your sponge cake and frosting.
Happy baking!
Preparing Homemade Twinkies
Creating your own homemade Twinkies can be a delightful culinary adventure. It’s not only a treat for your taste buds but also an experience that brings back childhood memories. Let’s walk through the process step-by-step to ensure a fun and fulfilling making-of-Twinkies experience!
Prepping Your Baking Equipment
Before you dive into mixing and baking, it's essential to prepare your equipment. Gather your Twinkie mold or, if you're feeling creative, repurpose some spice jars to craft your own molds. You'll also need a piping bag or a pastry bag fitted with a small tip for filling those lovely treats later. Give your molds a generous spritz of nonstick cooking spray or a light coat of vegetable oil to ensure easy removal later on. Trust me; you want those Twinkies to come out just right!
Mixing the Dry Ingredients
Next up, let’s get our dry ingredients ready. In a mixing bowl, whisk together:
- ½ cup cake flour
- ¼ cup all-purpose flour
- 1 teaspoon baking powder
- ¼ teaspoon salt
This combination is crucial for achieving that light, airy texture that homemade Twinkies are famous for! Be sure to mix well so that everything is evenly combined.
Creating the Cake Batter
Now it’s time for the magic to happen. In a small saucepan, gently heat 2 tablespoons of milk and 4 tablespoons of unsalted butter until the butter melts. Remove it from the heat, adding ½ teaspoon vanilla extract for that rich flavor.
In a stand mixer (or use a hand mixer), beat 5 large egg whites until frothy. Gradually add ¾ cup granulated sugar and ¼ teaspoon cream of tartar until you get soft peaks. In another bowl, beat the egg yolks with the remaining sugar until pale and thick, then gently fold in the egg whites. Combine the flour mixture, and finally add the melted butter-milk mixture. This should be a classic folding technique; be gentle to keep that fluffiness intact!
Baking the Twinkies
Once your batter is ready, it's time to fill your molds! Pour the batter in, filling each mold about three-quarters full. Slide the baking pan into your preheated oven at 350°F (175°C) and bake until the tops are golden and spring back when touched—about 13 to 15 minutes. After baking, let them cool in the molds on a wire rack.
Filling with Frosting
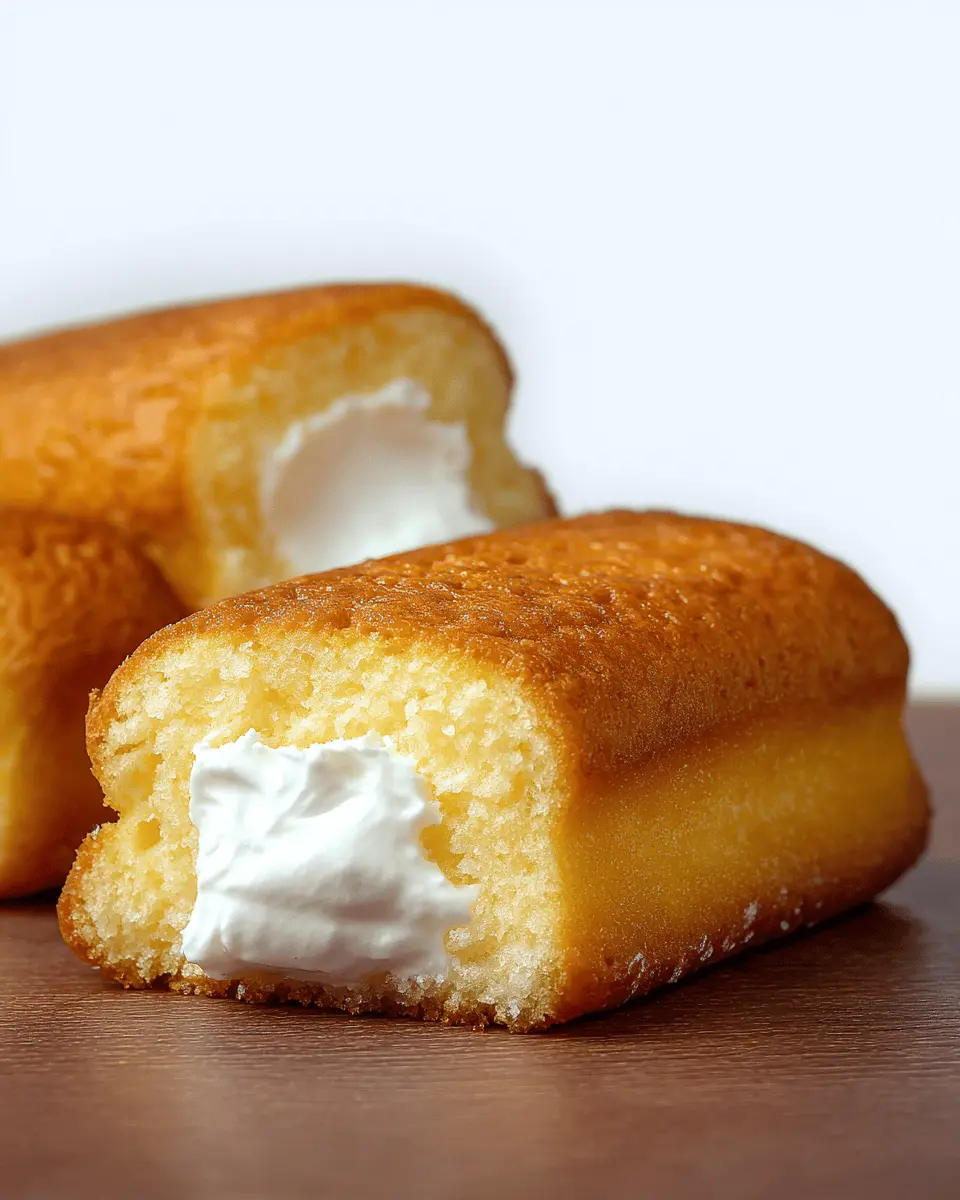
Now, for the best part: filling your** homemade Twinkies**! After cooling, carefully remove them from the molds. Poke three holes in the bottom of each cake using a chopstick—this is where the frosting will go. Using your piping bag filled with the luscious *Seven-Minute Frosting*, pipe the filling into each hole until they’re nicely plump.
And voilà! You’ve created delightful Twinkies that are sure to impress. Enjoy them fresh and slightly warm for the ultimate experience.
For more sweet treats, check out our resources on cake-making techniques and decorating tips here. Happy baking!
Variations on Homemade Twinkies
Creating homemade Twinkies opens up a world of delicious possibilities. Whether you're a chocolate lover or need gluten-free options, these variations will surely impress!
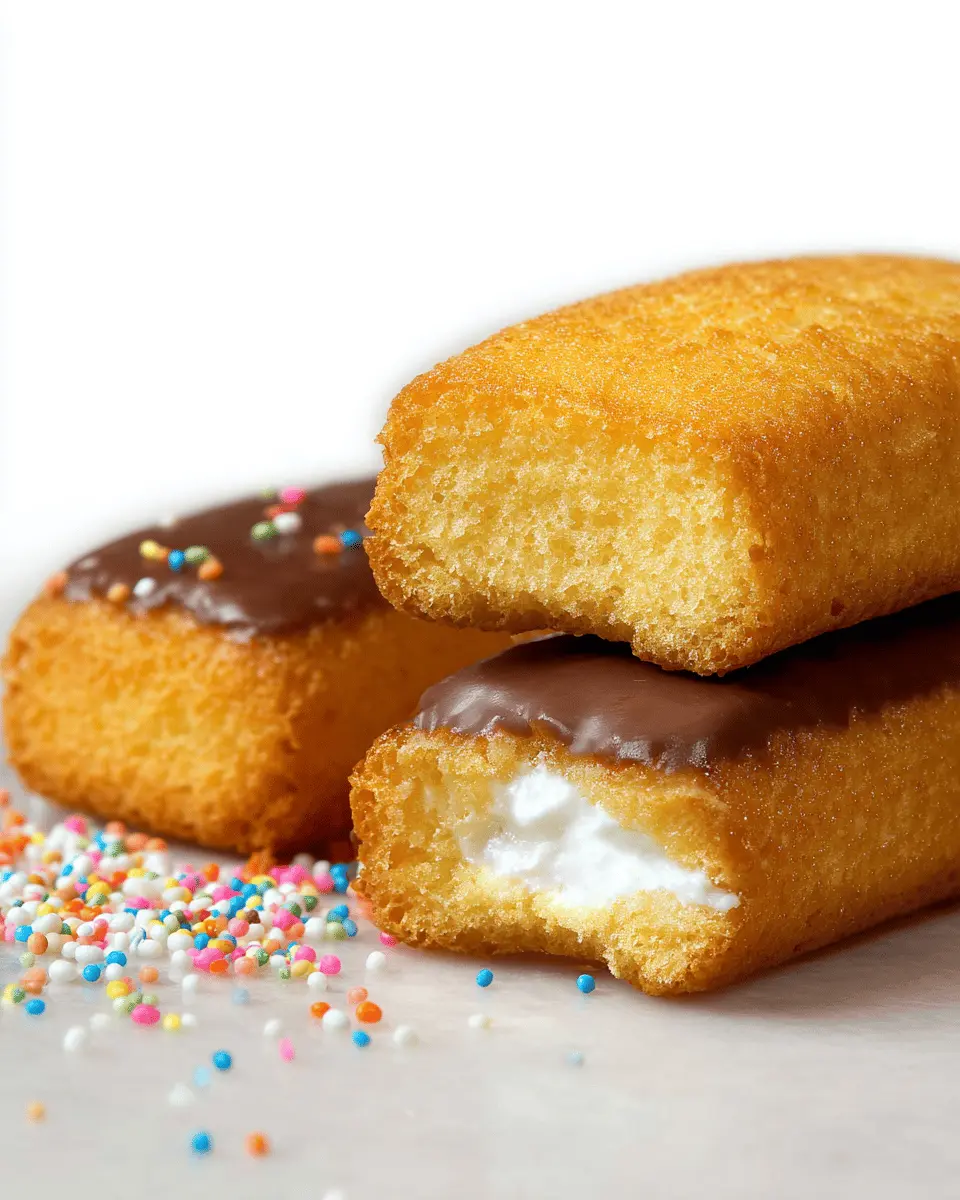
Chocolate Twinkies
If you crave a twist on the classic, try chocolate homemade Twinkies! Use cocoa powder in your batter to achieve a rich, chocolatey flavor. You can even fill them with chocolate ganache for an indulgent treat. Just remember, the cream filling can be made with chocolate frosting instead of traditional vanilla for an extra layer of sweetness.
Gluten-free Twinkies
For those following a gluten-free diet, simply swap the all-purpose flour and cake flour for a gluten-free baking mix. Make sure to check that all your ingredients are certified gluten-free. Enjoy your delectable gluten-free homemade Twinkies without compromising flavor or texture!
These variations not only cater to different tastes but also encourage creativity in the kitchen! Expand your baking repertoire and share your creations with friends and family for a homemade dessert that’s sure to wow.
Baking Notes for Homemade Twinkies
Tips for Achieving the Perfect Sponge
To create the light, airy texture of homemade Twinkies, start by ensuring your eggs are at room temperature. This helps them incorporate air more effectively. Beat your egg whites until they just reach soft peaks—overbeating can lead to a denser sponge. When mixing, be gentle; folding in the flour mixture should leave no traces of flour while maintaining the volume of the egg whites. Also, use fresh ingredients like baking powder to give your sponge that delightful lift.
Common Mistakes to Avoid
One common mistake is not greasing your molds adequately, which can lead to sticking and tearing. Avoid overfilling the molds as this can cause the cakes to overflow while baking. Lastly, be cautious not to skip the cooling step! Letting the cakes cool slightly in the mold ensures they retain their shape and helps with the filling. For more great tips, check out this baking guide that delves deeper into creating perfect cakes.
Serving suggestions for Homemade Twinkies
Pairing with coffee or tea
Enjoying your homemade Twinkies with a warm cup of coffee or tea creates a delightful experience. The sweet cream filling pairs beautifully with a rich, dark roast. If you prefer tea, consider a classic Earl Grey or a buttery oolong; their subtle flavors really bring out the sponge cake's sweetness. For an indulgent twist, why not whip up a frothy milk-based drink, like a cappuccino, to dip your Twinkie into?
Perfect for parties and celebrations
Homemade Twinkies can steal the show at any gathering! Serve them as a nostalgic treat at birthdays, brunches, or even holiday celebrations. Their charming shape and sweet taste evoke fond memories while offering a modern twist. Consider stacking them on a tiered cake stand to make an impressive display. For added fun, you can customize them with different fillings or drizzle them with toppings like chocolate or sprinkles. The possibilities are endless!
Need more party ideas? Check out this entertaining guide for fabulous hosting tips.
Tips for Making Perfect Homemade Twinkies
Storing Your Homemade Twinkies
To keep your homemade Twinkies fresh and delightful, store them in an airtight container at room temperature. They’ll maintain their soft, fluffy texture for up to three days. If you’re thinking about longer storage, consider refrigerating them, but make sure to consume them within a week for the best flavor.
How to Make Them Last Longer
For those sweet treats that you’d like to last beyond a few days, freeze your homemade Twinkies! Wrap each one tightly in plastic wrap, then place them in a freezer-safe bag. They can stay in the freezer for up to two months. Simply thaw them at room temperature for a soft, indulgent bite when you're ready to enjoy.
For more baking tips, you can check out this baking guide for insights on preserving flavors and textures!
Time Details for Homemade Twinkies
Preparation Time
Getting things started, you’ll need about 50 minutes to prepare your ingredients and set up for baking. This includes whipping up the batter and creating your molds.
Baking Time
Once you slide those molds filled with batter into the oven, let them bake for 15 minutes. Your kitchen will smell delightful during this time!
Total Time
From start to finish, expect to spend approximately 1 hour and 15 minutes crafting these delicious homemade Twinkies. They’re well worth the wait! Enjoy them warm for the best experience.
For more tips and tricks on creating the perfect homemade Twinkies, check out this guide on baking essentials.
Nutritional Information for Homemade Twinkies
When indulging in the fluffy goodness of homemade Twinkies, it's nice to know what you're consuming. Here's a quick breakdown of the nutritional information per serving:
Calories
At just 144 calories each, these delightful treats can satisfy your sweet tooth without completely derailing your diet.
Sugar Content
Each Twinkie contains 13 grams of sugar, which is about 3 teaspoons. It's a sweet treat, but you can enjoy it in moderation.
Protein
For a dessert, each one packs a decent amount of 4 grams of protein. This helps keep your energy up while you savor every bite!
These homemade Twinkies are a nostalgic treat perfect for gatherings or a cozy night in. For further details on balancing your diet with sweet treats, check out resources from reputable sites like Healthline or Mayo Clinic. Enjoy your dessert guilt-free!
FAQs about Homemade Twinkies
How long do homemade Twinkies last?
Homemade Twinkies are best enjoyed fresh, but if you need to store them, they'll remain tasty for about 3 days in an airtight container at room temperature. For extended enjoyment, consider refrigerating them, which can stretch their shelf life to about a week. Just remember, the longer they sit, the less fluffy they become—so it's best to share and enjoy them with friends as soon as possible!
Can I freeze homemade Twinkies?
Absolutely! If you want to savor your homemade Twinkies later, freezing them is a great option. Wrap each Twinkie tightly in plastic wrap and then place them in a freezer-safe bag or container. They should keep well for about 2 months. When you’re ready, simply thaw them in the fridge overnight or at room temperature for a few hours.
What if I don't have a Twinkie mold?
No Twinkie mold? No problem! You can easily create makeshift molds using heavy-duty aluminum foil or even spice jars as a mold substitute. Shape the foil around the jar until it resembles a trough; this method is not only creative but also adds a personal touch to your baking experience! If you’re curious how to do this, check out a tutorial for step-by-step guidance.
Feel free to share your Twinkie-making experiences in the comments below—we’d love to hear how they turn out!
Conclusion on Homemade Twinkies
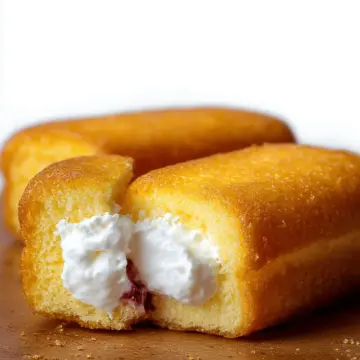
In conclusion, making homemade Twinkies is not just a delightful trip down memory lane; it’s an opportunity to create an even better version of this nostalgic treat. With a fluffy texture and creamy filling, these Twinkies are perfect for sharing or enjoying as a personal indulgence. Happy baking!
Homemade Twinkies
Equipment
- Twinkie mold
- spice jars
- chopstick
- piping bag or gun
Ingredients
Batter
- ½ cup cake flour
- ¼ cup all-purpose flour
- 1 teaspoon baking powder
- ¼ teaspoon salt
- 2 tablespoons milk, preferably whole
- 4 tablespoons unsalted butter (2 oz)
- ½ teaspoon vanilla extract
- 5 large eggs at room temperature
- ¾ cup granulated sugar
- ¼ teaspoon cream of tartar
Filling
- Seven-Minute Filling frosting
Spray
- nonstick cooking spray or vegetable oil
Instructions
Preparation
- Preheat the oven to 350°F (175°C) and adjust the oven rack to the lower-middle position.
- To make your shiny, single-use Twinkie molds, start with a piece of aluminum foil, preferably heavy-duty, that’s approximately 14 inches long. Fold the foil in half lengthwise, then fold it in half again to create a rectangle that’s about 6 inches long and 7 inches wide. Repeat to make a dozen rectangles.
- Place 1 sheet of folded foil on your work surface, with the long side facing you. Place a standard-size plastic or glass spice jar on its side in the center of the foil. Bring the long sides of the foil up around the jar. Fold the foil in around both top and bottom ends of the spice jar. Repeat until you have 12 foil Twinkie molds. Spritz the molds with nonstick spray or coat with vegetable oil.
- Whisk the flours, baking powder, and salt together in a bowl.
- In a small saucepan over low heat, heat the milk and butter until the butter melts. Remove from the heat and add the vanilla. Cover to keep warm.
- Separate the eggs, placing the whites in a standing mixer bowl and reserving the yolks. Beat the whites on high speed until foamy. Gradually add 6 tablespoons of the sugar and cream of tartar, continue to beat until the whites reach soft peaks.
- Dump the beaten egg whites into a large bowl and add the egg yolks to the standing mixer bowl. Beat the yolks with the remaining 6 tablespoons sugar until thick and pale, about 5 minutes. Add the beaten egg whites to the yolks without mixing.
- Sprinkle the flour mixture over the egg whites and mix on low for 10 seconds. Pour the melted butter mixture into the bowl and fold gently until the batter shows no trace of flour, about 8 strokes.
- Immediately scrape the batter into the prepared molds, filling each with about ¾ inch batter. Bake until light brown and spring back when touched, about 13 to 15 minutes. Allow the cakes to cool in the molds.
- Remove each cake from the foil. Poke three holes in the bottom of each cake with a chopstick. Wiggle to create room for filling.
- Scoop frosting into a pastry bag fit with a small tip and pipe into the holes in the cakes. Fill gently without overfilling.
- Serve while still slightly warm.

Leave a Reply